nopCommerce LiveChat: with just a few easy steps, you can add LiveChat to your store and create a quality Customer Service for your visitors! All of that with our dead-easy yet powerful chat tool.
Follow the tutorial below to learn how to add LiveChat to your nopCommerce web store and see how easy installing a plugin can be!
- Installation - learn how to add LiveChat to your nopCommerce.
nopCommerce LiveChat: Installation
- First, download our official LiveChat plugin for nopCommerce. To do that, choose one of the plugin versions available below.
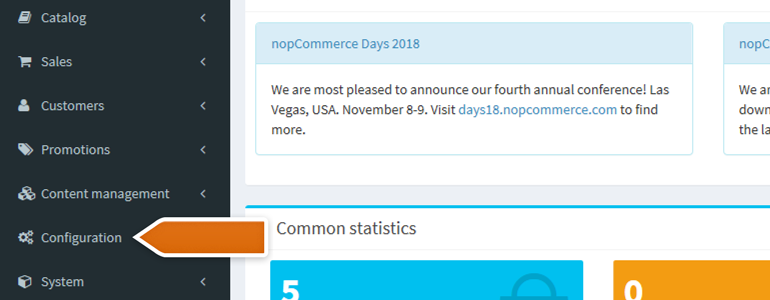
- Now that you have the plugin, log into your nopCommerce administration panel. While there, go to the Configuration section, available at the left side of your nopCommerce.
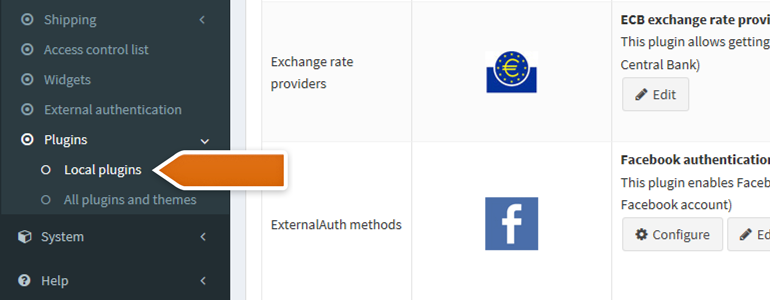
- Under the Configuration section, you will find the Plugins option. Click on it and proceed to the configuration of your Local plugins.
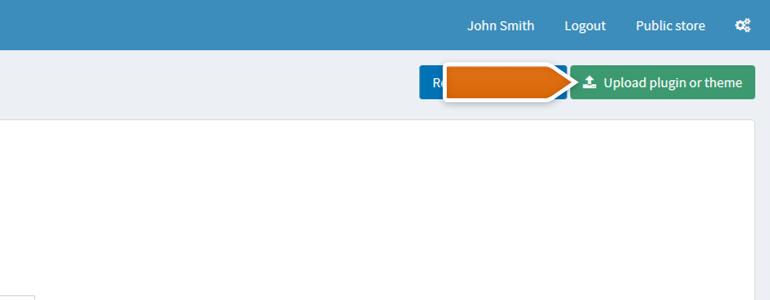
- While there, click on the Upload plugin or theme button, available at the top right side of this section.
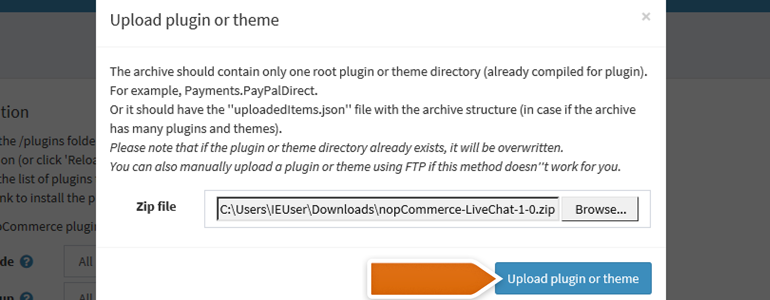
- You will see a prompt, asking you to select a file with the .zip format. Choose LiveChat plugin that you’ve downloaded before and click on Upload plugin or theme.
- After successful upload, look for LiveChat on the list of your Local plugins and click on the Install button.
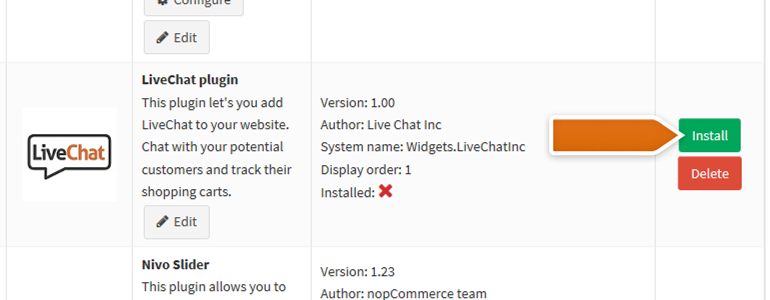
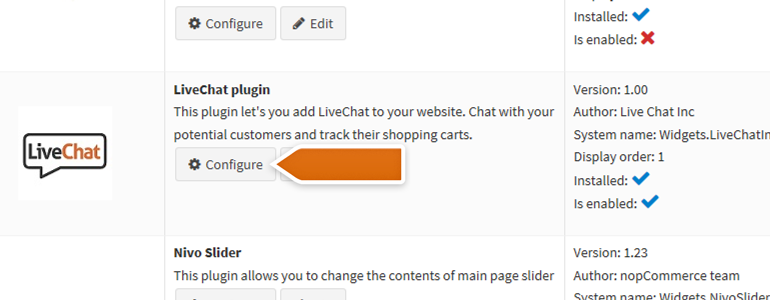
- As your plugin is now installed, all that is left is to link nopCommerce with your LiveChat account. To do that, click on the Configure button, available under the LiveChat’s plugin description.
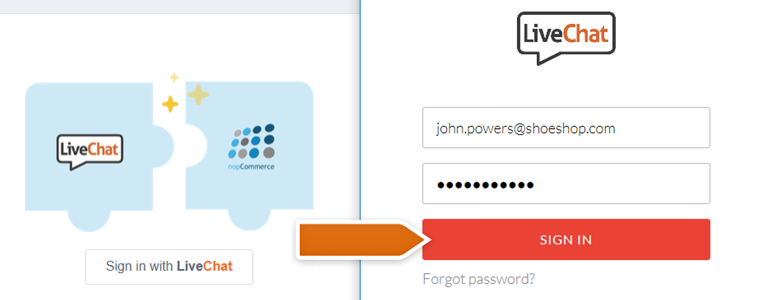
- On the next screen, click on the Sing in with LiveChat button and provide your LiveChat credentials.
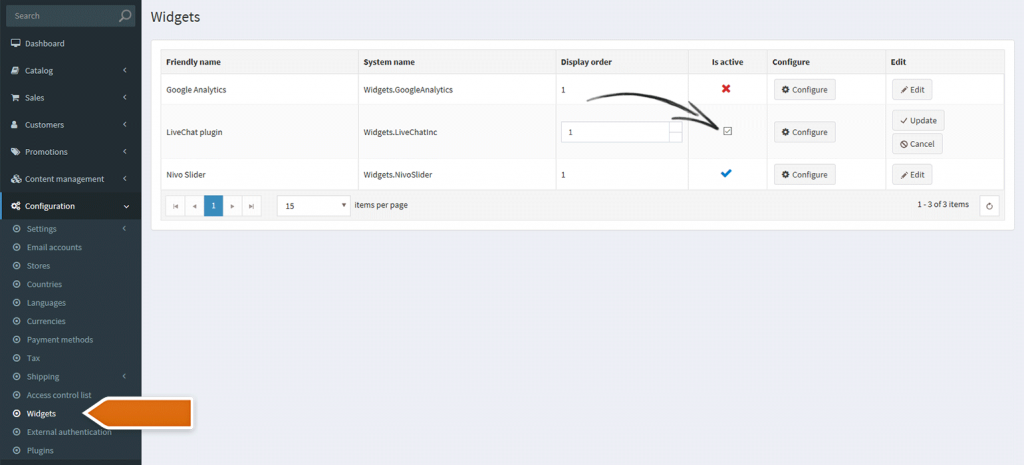
- Then, go to Configuration → Widgets. Find the row with Widgets.LiveChatInc and click on Edit (in the last column). Finally, check the box in the **is active **column.
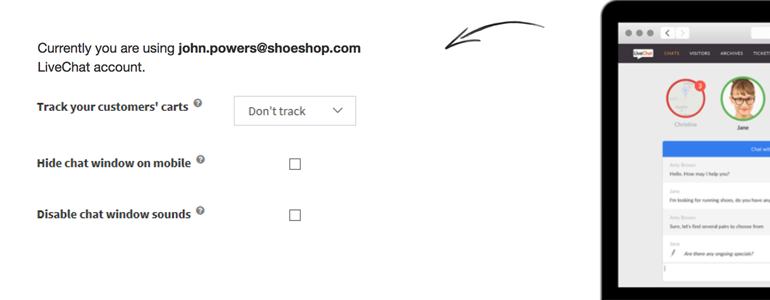
- And that’s it! LiveChat is now added to your website and you can start chatting with your customer right away! Also, feel free to play with some additional options that are offered by the plugin, like:
- How often LiveChat should track your customer’s cart;
- Hiding the chat window for mobile visitors;
- Disabling chat window sounds.
Hopefully, you have found this article helpful but if you have any additional questions, feel free to start a chat with us - we are available 24/7/365!****

