You can use campaigns in LiveChat to do more than just say hello to your customer. In fact, it is better to avoid the ‘Hello, how can I help you’ cliche, as the knee-jerk reaction is to usually say ‘I’m just browsing’, and this is not at all what we are aiming for!
In this article, we will show you how campaigns can be used to generate leads, automate targeted marketing, guide customers around your website, schedule appointments, and more! Scroll down for a word from our customers as well as more general usage tips.
Campaigns for lead generation
Say you have a restaurant that delivers locally. With campaigns, you can target only the customers in your city and direct visitors straight to your order or menu page:
To set up a campaign like the one above, in the LiveChat Agent App go to Engage > Campaigns.
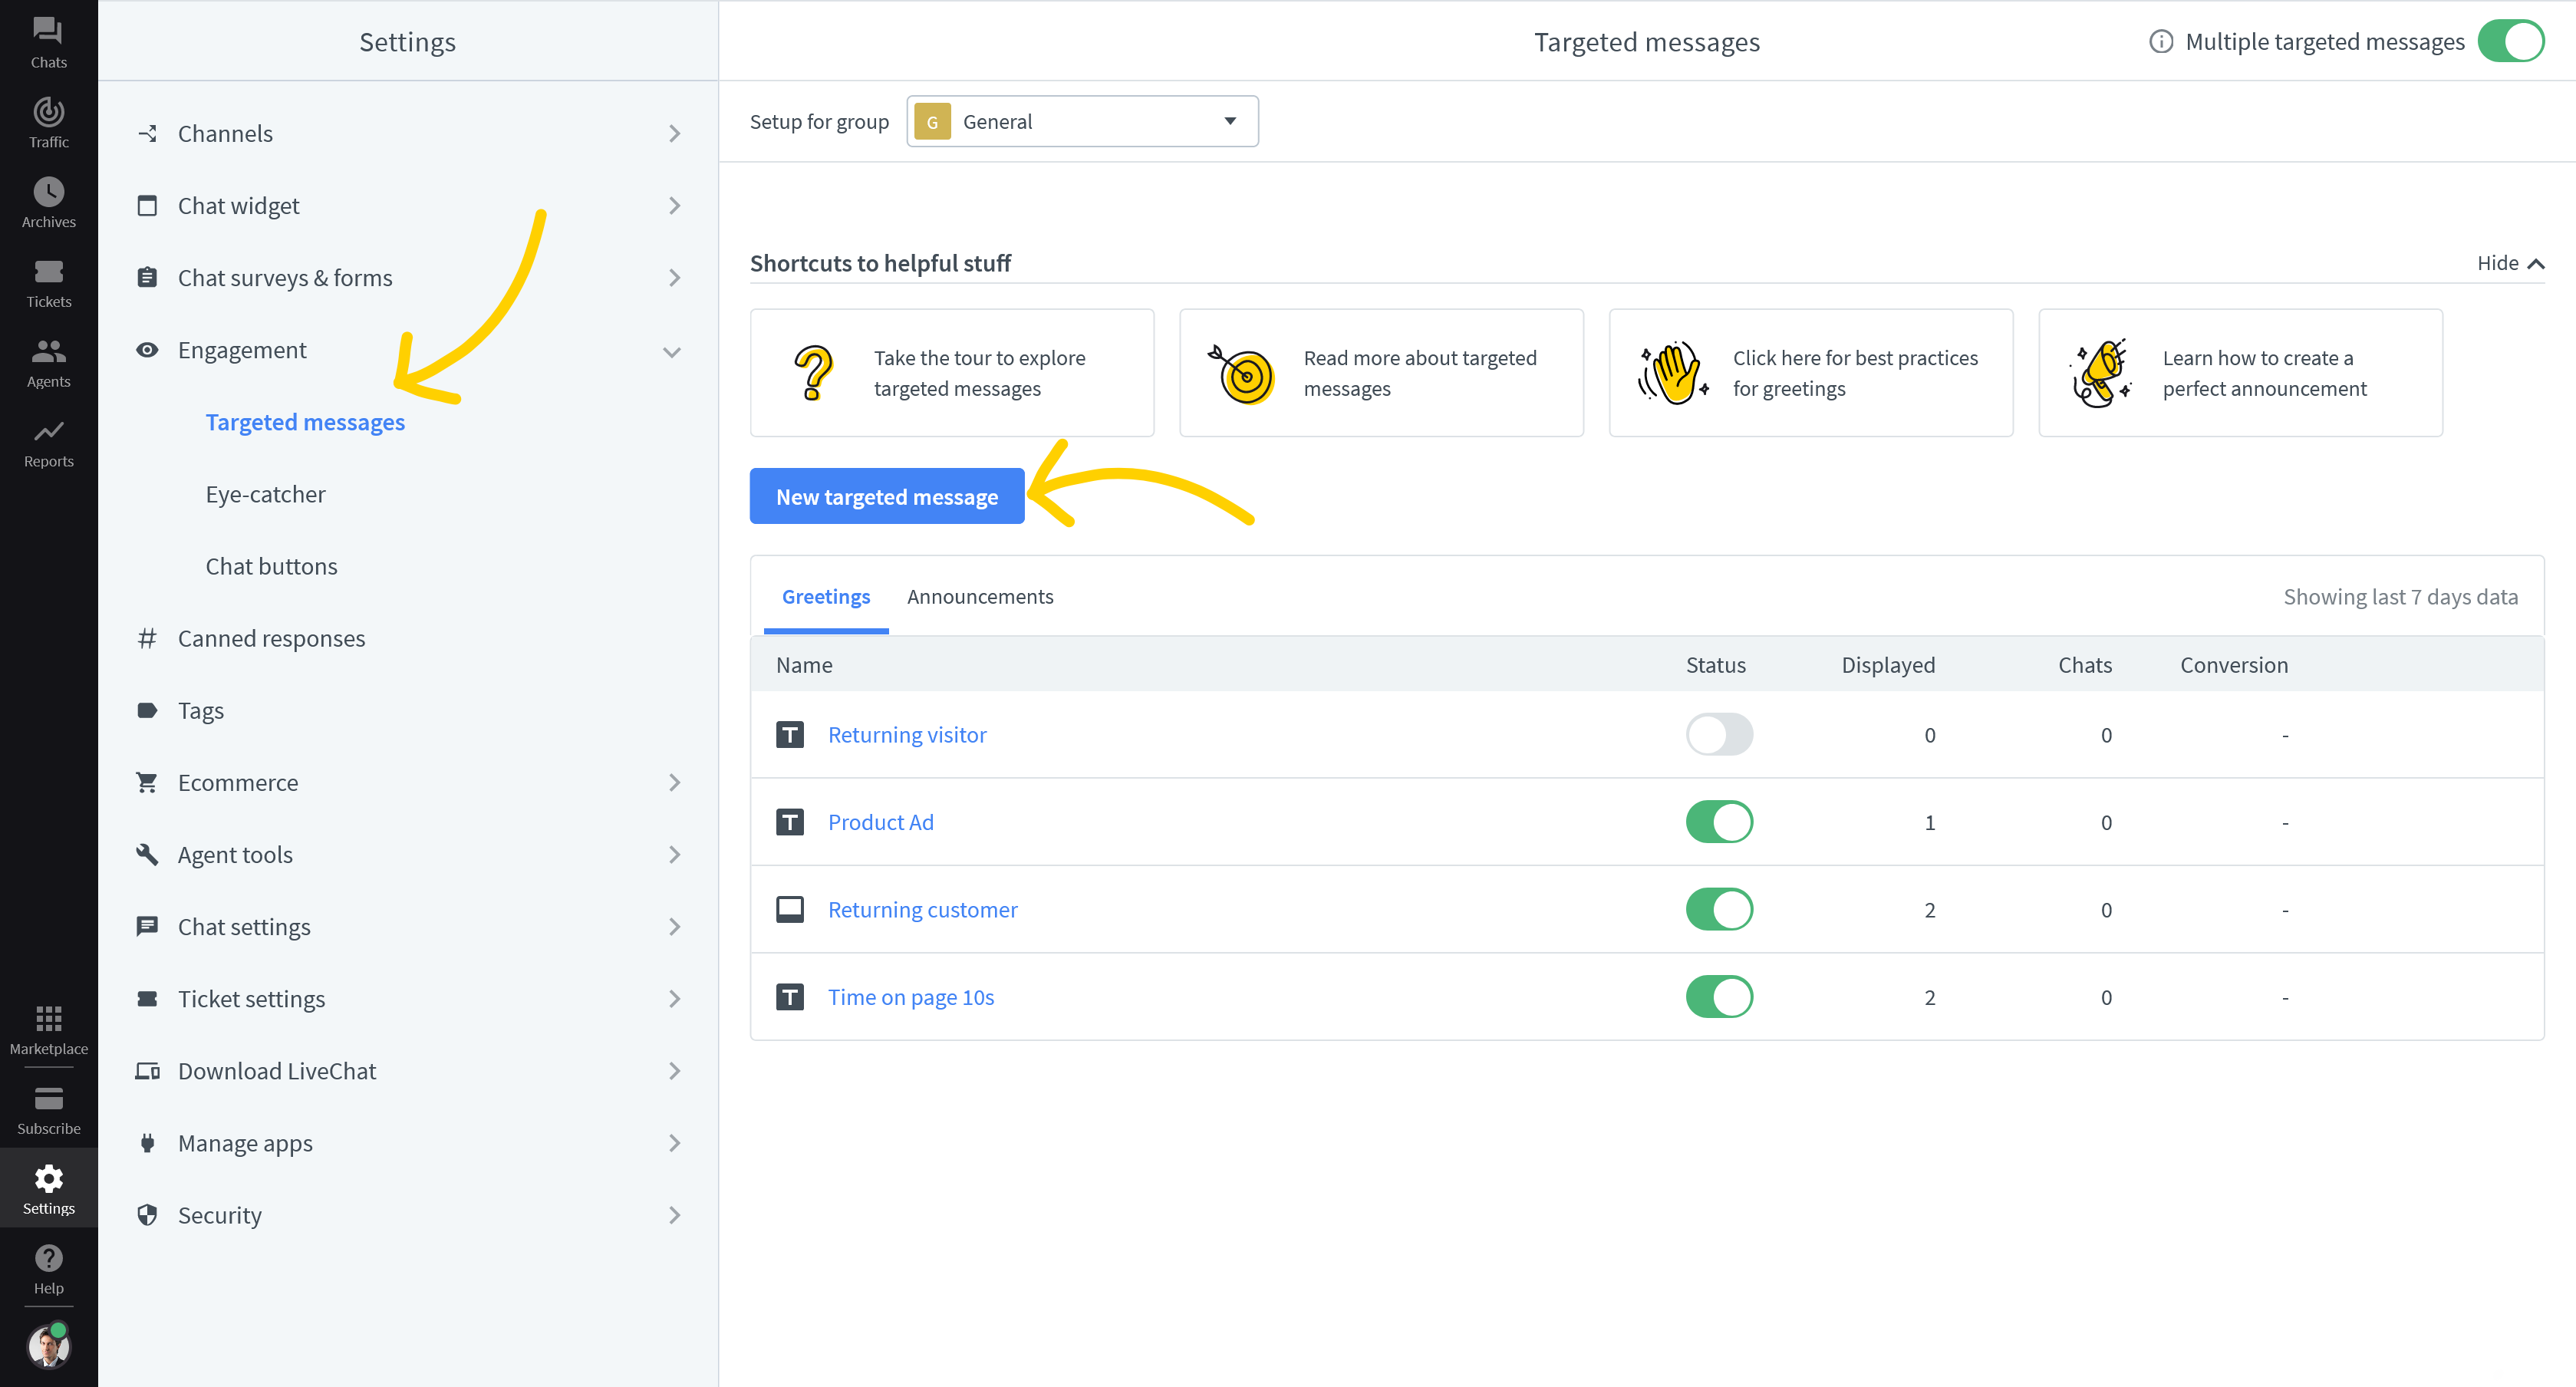
Pick recurring. You can also click on one of your existing recurring campaigns to edit it. First, let’s set up the appearance of the campaign. Pick the Card type of campaign and hit ‘Edit’. Click on particular fields - image, message, and buttons, to edit the content. Choose the ‘Open URL’ button type to link the buttons to your order or menu page.
Remember that you can choose from many button styles to nudge visitors in different directions. In this case, we wanted ours to think about ordering immediately, so the ‘Place an order’ button is set to ‘Primary’ style, while the ‘Check our menu’ button is set to ‘Default’.
Now that the appearance of your campaign is taken care of, set the conditions for your campaign. Pick ‘Customer’s location’ condition from the drop-down menu for conditions and enter your location:
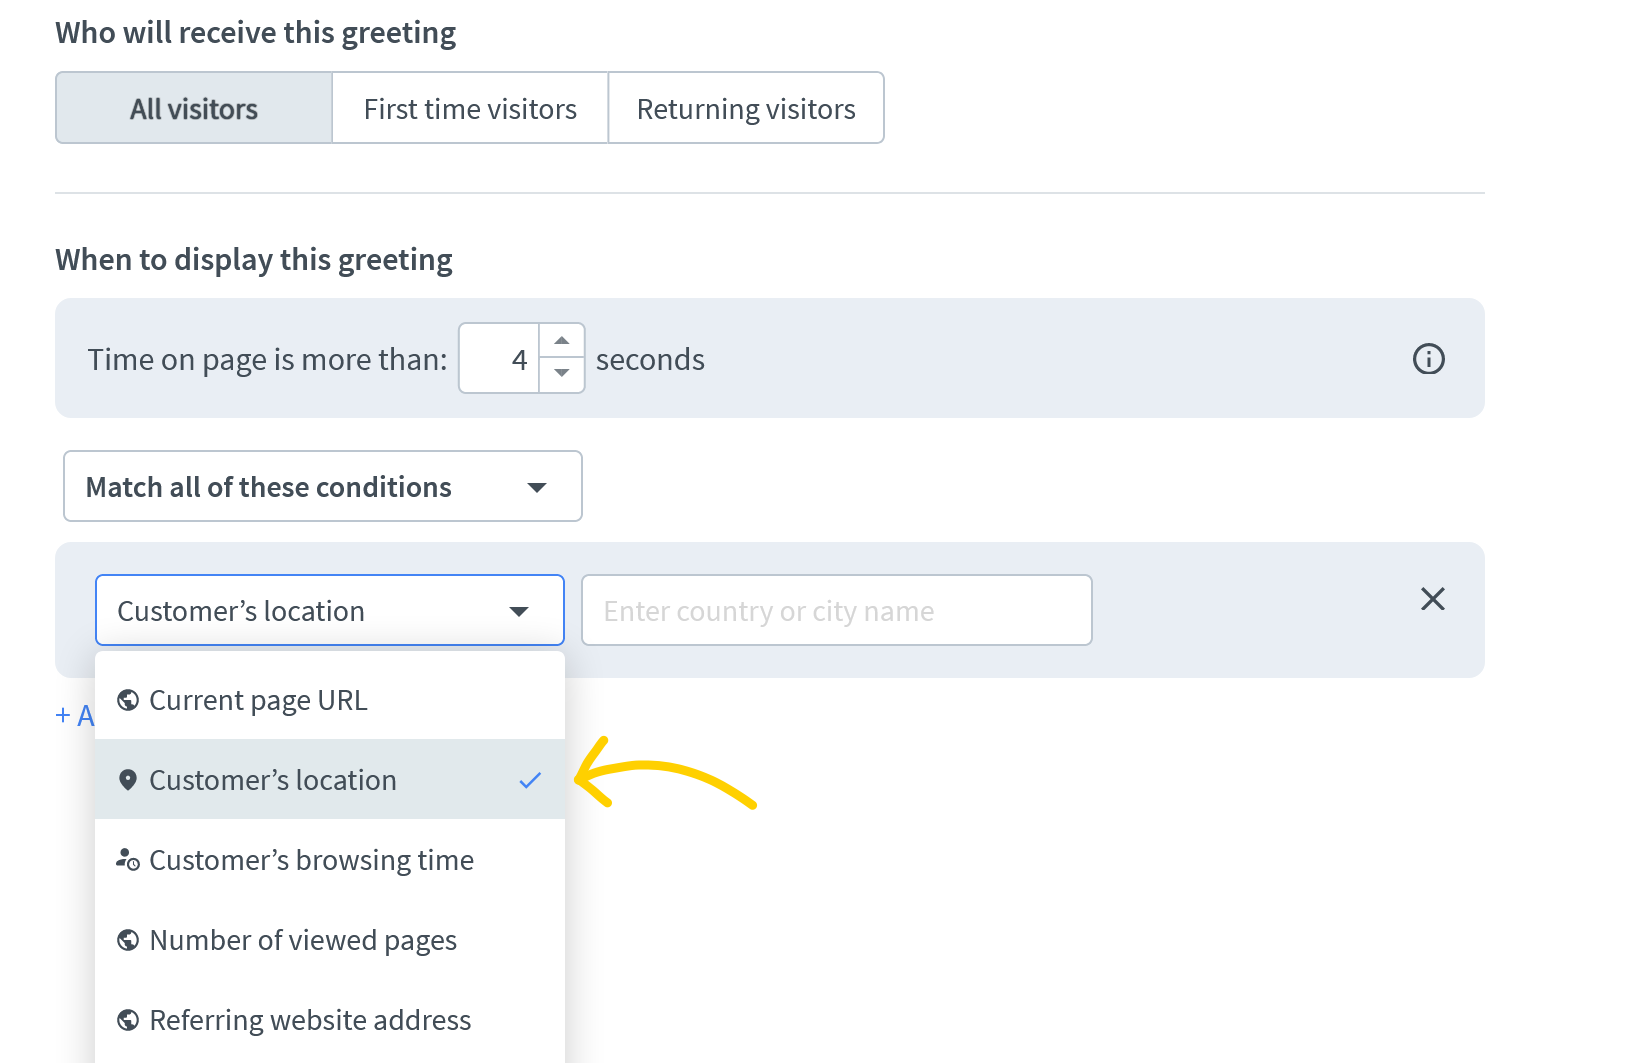
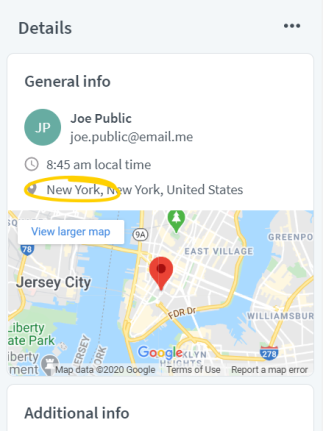
Remember to save your settings, and, once the campaign is ready, click ‘Save campaign’. After you do, remember to click on the green toggle on the list of campaigns to set it live.
For food services or any other business, you surely have undecided customers browsing and browsing but still not making a decision. Let’s see if campaigns can help. Use conditions for campaigns to refine the group you wish to target. This can help to turn interested visitors into leads.

The campaign above is again the Card type. To set up the appearance, add the appropriate image, pick the ‘Open URL’ button type, and link it to your sign-up form or page.
To make sure it is displayed only to interested visitors, you can set the conditions to show the campaign, for example, only to returning visitors who have visited at least three pages on your website. To do this you would pick ‘Number of visited pages’ from the conditions drop-down menu and set the number of pages to what seems appropriate.
PRO TIP 3: Evaluate the conversion of your campaigns – visit the Campaigns section and track the numbers in the ‘Conversion’ column. Continue to fine-tune the conditions – perhaps it is better to offer the discount after the customer visited the pages in some specific order? To do this, use the ‘Pages visited in exact order’ condition. Don’t be afraid to experiment. You are the expert on running your business, after all!
You can also use the integration with Google Analytics to track the number of campaigns displayed to your visitors, as well as the number of clicks on buttons in campaigns. Each event contains the button ID and content, so that you can track the performance of particular buttons.
LiveChat triggers one campaign per visitor’s session. It will be the first campaign for which conditions are met. You can enable Multiple campaigns per session to display more campaigns, should a visitor meet conditions for more than one campaign.
To enable ‘Multiple campaigns per session’ go to Engage → Campaigns and click the ‘Multiple campaigns’ toggle in the top right corner.
Campaigns for growing lead base
If you use Mailchimp, you can let your customers subscribe to your newsletter right from the campaign. The Mailchimp integration campaign opens a subscription form right in the chat widget when the customer clicks on the subscribe button.
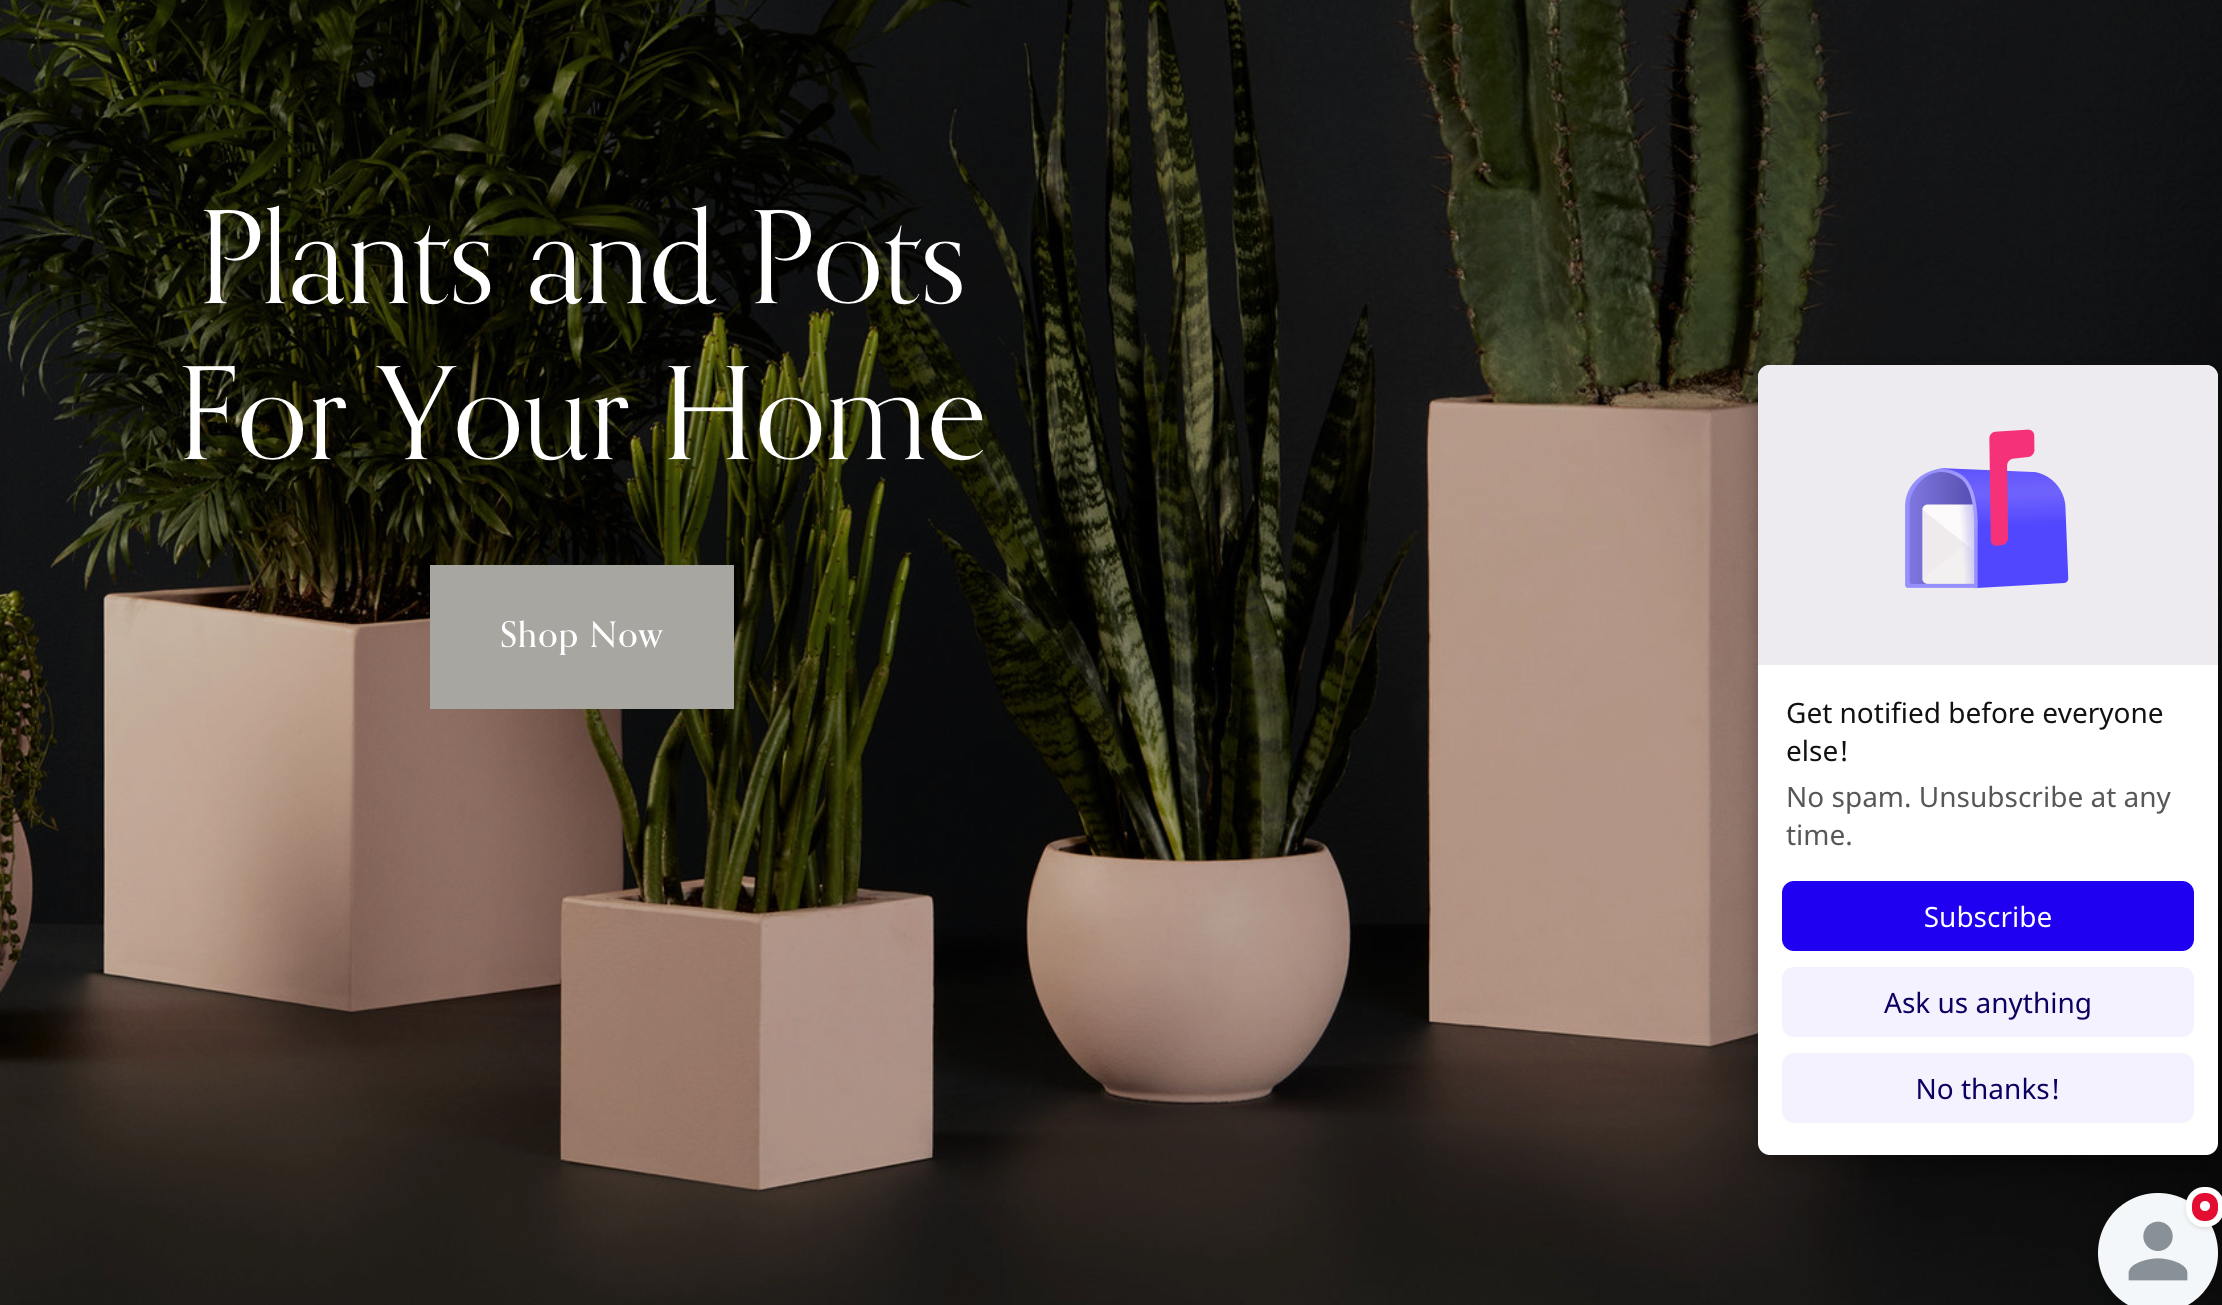
In the LiveChat agent app, you define which audience the lead should be added to. So, once the customer clicks Submit, their email is added to the designated Mailchimp audience.
When you connect Mailchimp with LiveChat, two new campaigns are automatically created on your license: one for new visitors and one for returning visitors. The template comes with a preset Subscribe button that opens the subscription form. You can customize the look and conditions of these campaigns in the app settings.
Campaigns for marketing automation
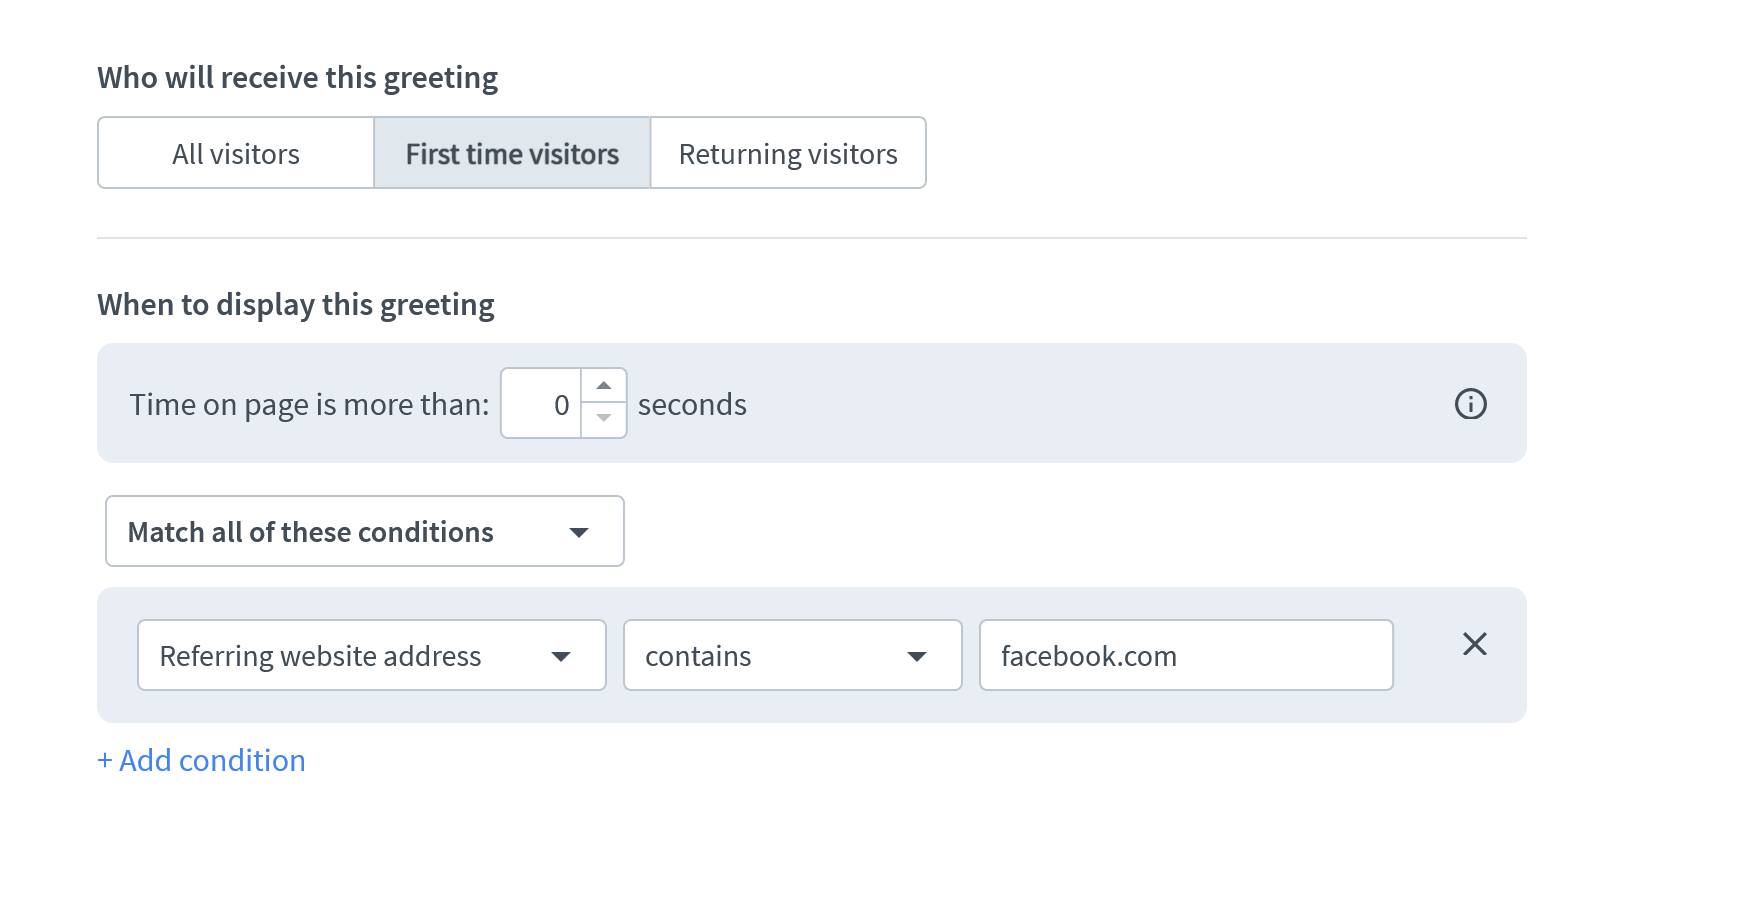
If you are running campaigns outside of your website, you might want to engage the visitors who come to your site by way of those campaigns! If you cooperate with another website or advertise your services on social media, you can offer discounts or bonuses specifically to new users sourced from those referring websites, using the ‘Referring website address’ condition.
Let’s say you would like to offer these customers the same “1 month free deal” from the campaign in the previous section. You can have a campaign that looks the same, but is triggered by a completely different set of rules, and thus is displayed to a different set of visitors. To do that, click on ‘Create new campaign’, pick the Card type, copy the settings of the “1 month free deal” card, and set the rules for this new campaign.
Pick ‘First time visitors’ and then pick ‘Referring website address’ as the condition. If you want to provide the full address, pick ‘is exactly’ and paste the full URL address. If you use many referring websites and all of them contain the same key element, pick ‘contains’ and provide just that element to target the visitors of any referring website created for this campaign. Save and set as live.
But what if you want to offer a discount only to a narrow group of customers, for example, those who have made a purchase? Say, you would like to offer your customers a discount for their next purchase after they’ve paid for their order. Set the ‘Current page URL’ condition for your ‘thank you’ page.
You can also use campaigns to catch the customers who would otherwise leave your website. Say a customer is looking for an item that’s out of stock. A strategically placed campaign can direct them to a similar product!
You can use the Card type of campaign to display a thumbnail of a similar product you have in stock. Add a primary button that will direct the customer to the order page and a secondary one for the product page. Here you can use the same condition as above, but the ‘Current page URL’ should be the URL of the product that’s out of stock.
Campaigns to schedule appointments
If your business relies on direct contact with your customers, you can use campaigns to shorten the customer’s path to an appointment by letting them schedule appointments right in the chat widget! Pick the Card type, add an ‘Open Moment’ button type, and add the link to your calendar app or page. When the customer clicks the button, the calendar will open right in the widget!
You can use the ‘Customer’s browsing time’ condition, which helps you find the most interested customers (the time spent on the page usually indicates their interest in your services). Decide first when to display the campaign. Set an appropriate time delay according to the situation and visitor behavior. Take advantage of the Google Analytics integration to find the best time to display a campaign.
Let’s take another example, a veterinary clinic. To make sure you offer appointments to the customers who are actually seeking help for their pets, you could exclude your homepage in the campaign condition.

The campaign above is again the Card type. To set up the appearance, add the appropriate image, pick the ‘Open Moment’ button type and link it to your appointment calendar page or app. The Moment button will open the calendar right in the chat widget!
To exclude the home page, set the condition to ‘Current page URL’ ‘is not’ and provide your home page URL.
Campaigns for support
Set a specific campaign to fire when your visitors are looking for customer support by targeting those on pages such as Contact or FAQ.
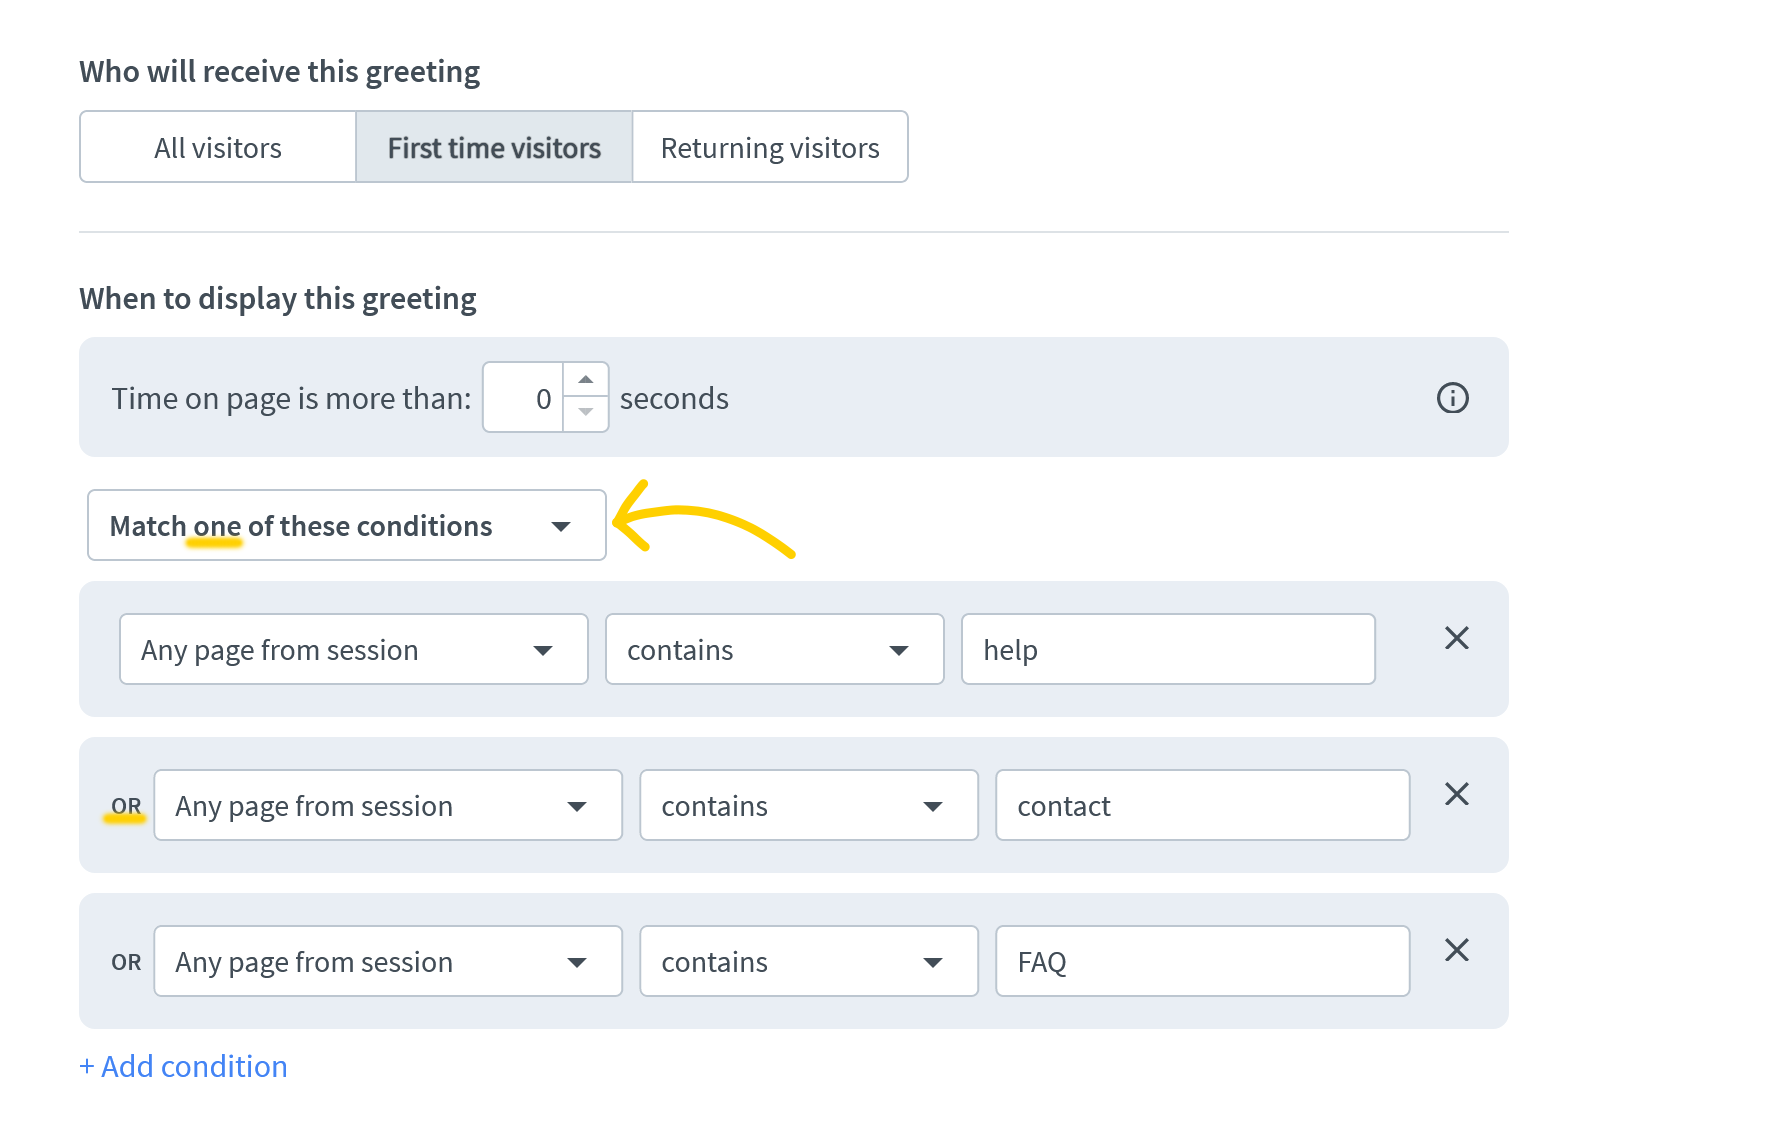
To set up the appearance, pick the Quick Replies campaign type, and edit the buttons to reflect the topics your team can help the customer with. Once the customer clicks on a button, the agent will see their answer as the first message in the incoming chat. To make sure that the campaign targets the right group of customers, set up the campaign condition to ‘Match one of these conditions’ and then add all possible variants using ‘Any page from session contains’ condition. This way you can add the appropriate strings from the URLs of your support pages.
Let’s say you want to target customers shopping around for the best offer. Such a prospect would come back to your website to compare selected offers from other sites with yours. This is when you engage them with a Card campaign, helping them get where they’re going on your website faster and giving them the option to chat.

Set up the Card campaign type, add an image and edit buttons so that they direct the customers to the desired sections of your website (‘Open URL’ button type), or to chat with your agents (‘Send message’ button type). You can set the ‘Send message’ button style to ‘Primary’, so that it will be more prominent on the list of buttons. You can also use the ‘Add message input’ option to let your customers start the chat by sending a message.
Set the conditions for your campaigns so that it shows for returning visitors, the ‘Current page URL’ to ‘is exactly’, and enter the address where you want the campaign displayed.
Campaigns to help with onboarding
You can use campaigns to target different types of visitors on your website. On your careers page, for example, you’ll want to target prospective employees to help with the recruitment process. You can set the campaign to appear on pages advertising job vacancies. Since people with a serious interest in your company will tend to spend more time on the career page, you can delay the moment when the campaign is displayed.
If you set your minimized chat widget to ‘bar’ rather than ‘bubble’, the triggered campaign will open the chat widget (See this article for customization options). To set up a campaign like the one above, pick the Card type of campaign, click on the trashcan to delete the image in the template, and add the buttons. You could use buttons linked to URLs directing candidates to specific sections of your website or ‘Add message input’ field, which will narrow down the topic of the conversation when the candidate starts a chat.
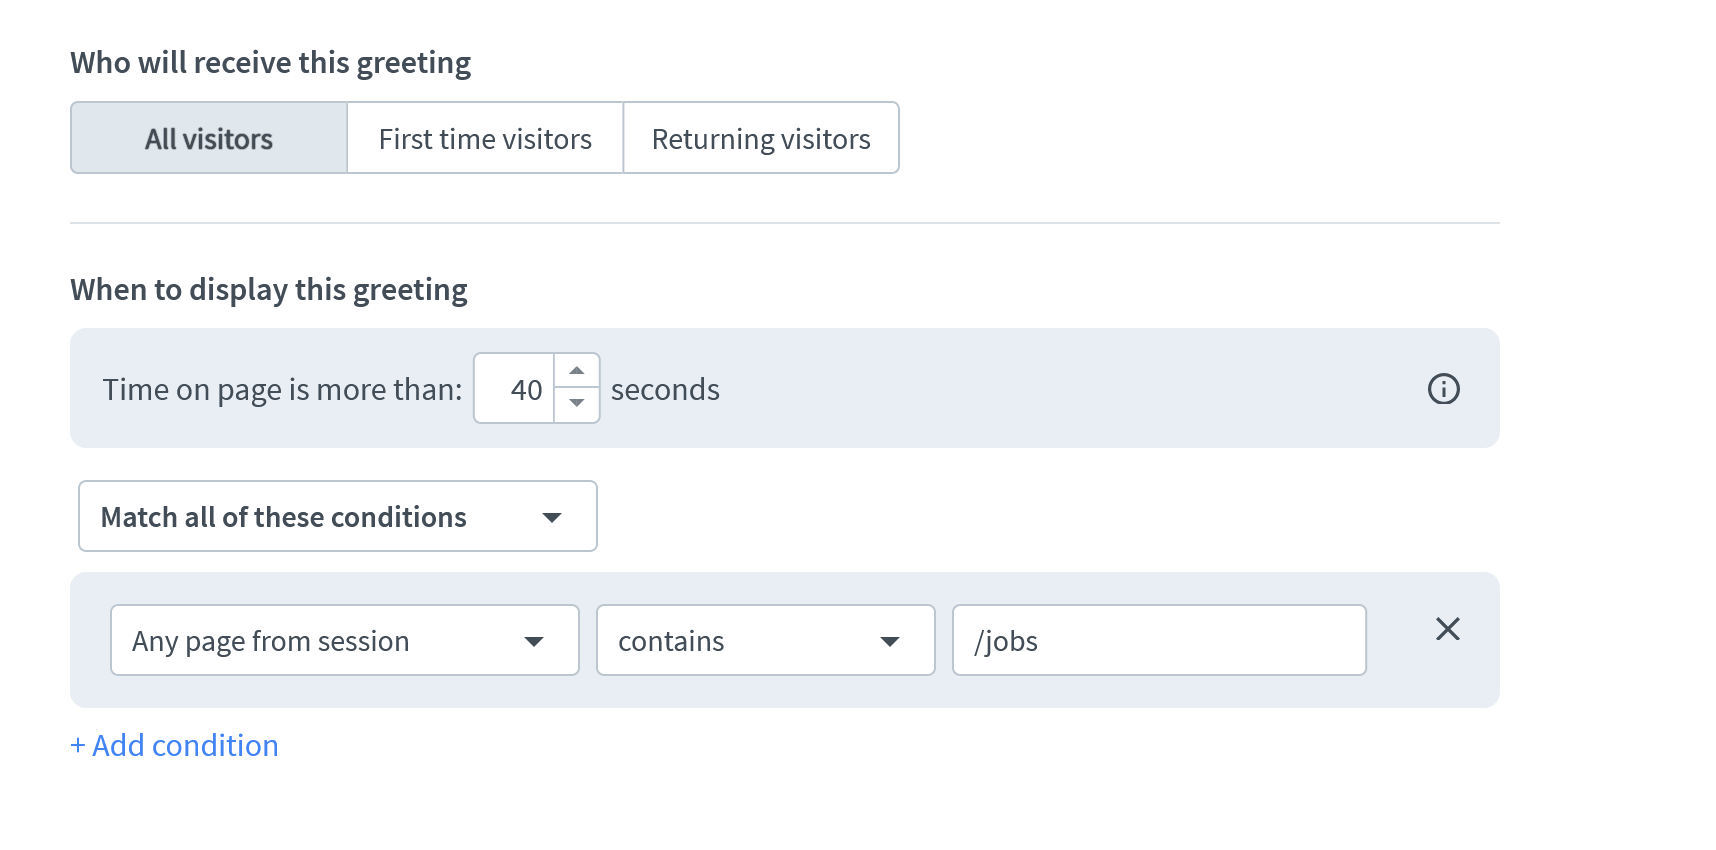
Set the conditions for the campaign. Decide if it should be displayed for all visitors or only first-time or returning visitors. Set the time delay before the campaign is displayed. Lastly, set the campaign condition to ‘Any page from session’, ‘contains’ and ‘/jobs’, for example:
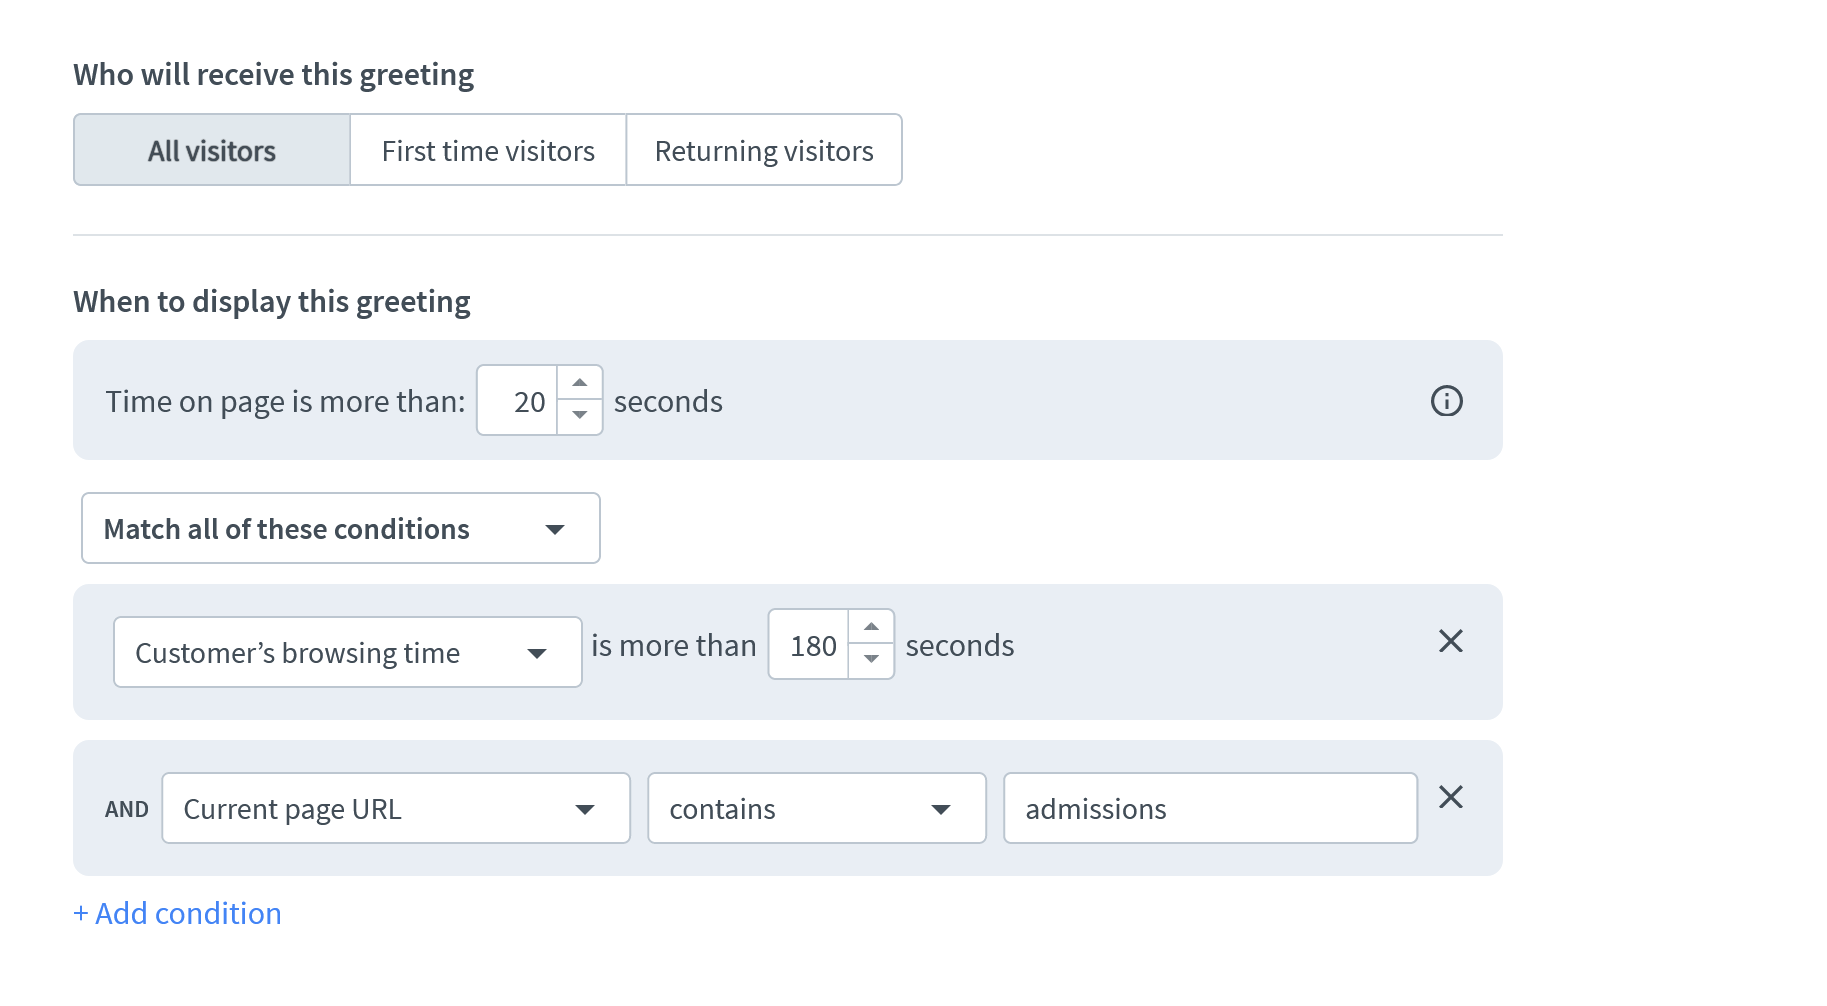
You can use the targeted campaigns to extend a helping hand to your visitors while they navigate your website. A school or a college may want to help their potential candidates understand the admissions process. Set up the campaign condition for an extended browsing time (the longer the presence on your website, the more interested the visitor is in the offer) and set the ‘current page URL’ to pages relating to admissions.
Campaigns to target customer segments
You can use campaigns to cherry-pick a specific group of your customers, for example, those who have used your service and who you’d like to leave a review. In our example below the campaign is used on the confirmation page after the completion of a language course.
In the above example, we have set up the Card type campaign and used the option to add a gif, rather than a static image. The buttons point to the actions we would like the customer to perform – a link to the review page and a button to initiate a call. The condition is set to: ‘Current page URL’, ‘is exactly’, and the confirmation page address. A campaign set up this way can be a great tool for collecting reviews! To increase motivation and the amount of feedback, you may want to offer a small incentive like a promo code or a discount in return. This will bring in more reviews and help you gain more loyal customers.
Speaking of brand loyalty, there is no better way to build it than actually engaging with your customers, visitors, and fans. It’s great when a visitor spends 10 minutes on your blog post, for example. It’s even better if you use this opportunity to engage with them. Find out what resonated with them and what gave them pause – perhaps they have questions or suggestions for the kind of content they would like to see more of?

To target first-time readers, you can set up the campaign only for first-time visitors. To do this, use the Card type campaign and set up buttons for specific channels where you would like to reach out (in the case above, a link to the comments section). Set the conditions to: ‘first time visitors’; ‘time on page’ to slightly less than how long it takes to read your article; ‘current page address’, ‘is exactly’, and the URL of your blog post.
What our customers say about campaigns
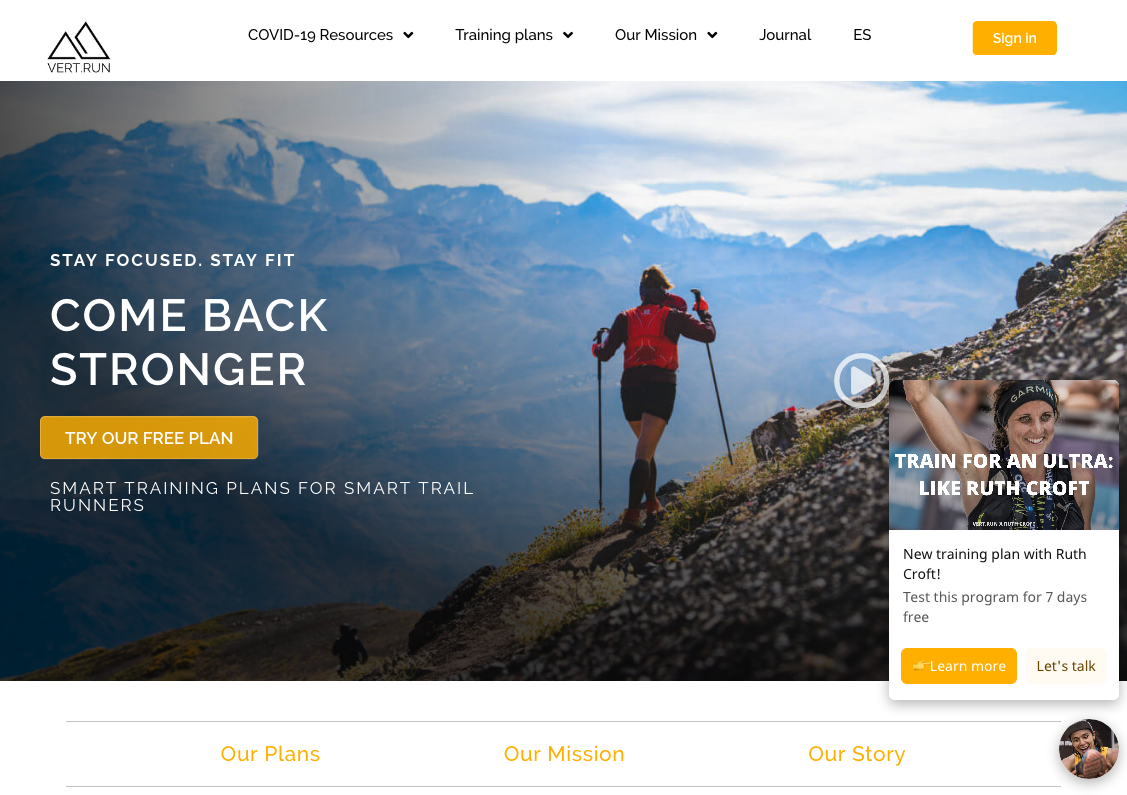
We asked our customers over at Vert.run and Valley Driving School for their impressions of campaigns, this is what they had to say:
We’re putting ourselves in customers’ shoes to be able to offer them something helpful and useful. We also use campaigns to check in on customers by allowing them to click an “All good, thanks!” option. This gives us good feedback right away, because when customers need help they know we are there for them. But they also let us know when everything is going well, which is good to know. When picking images for Cards, we try to use pictures that look good on mobile and desktop.
Valley Driving School, valleydrivingschool.com
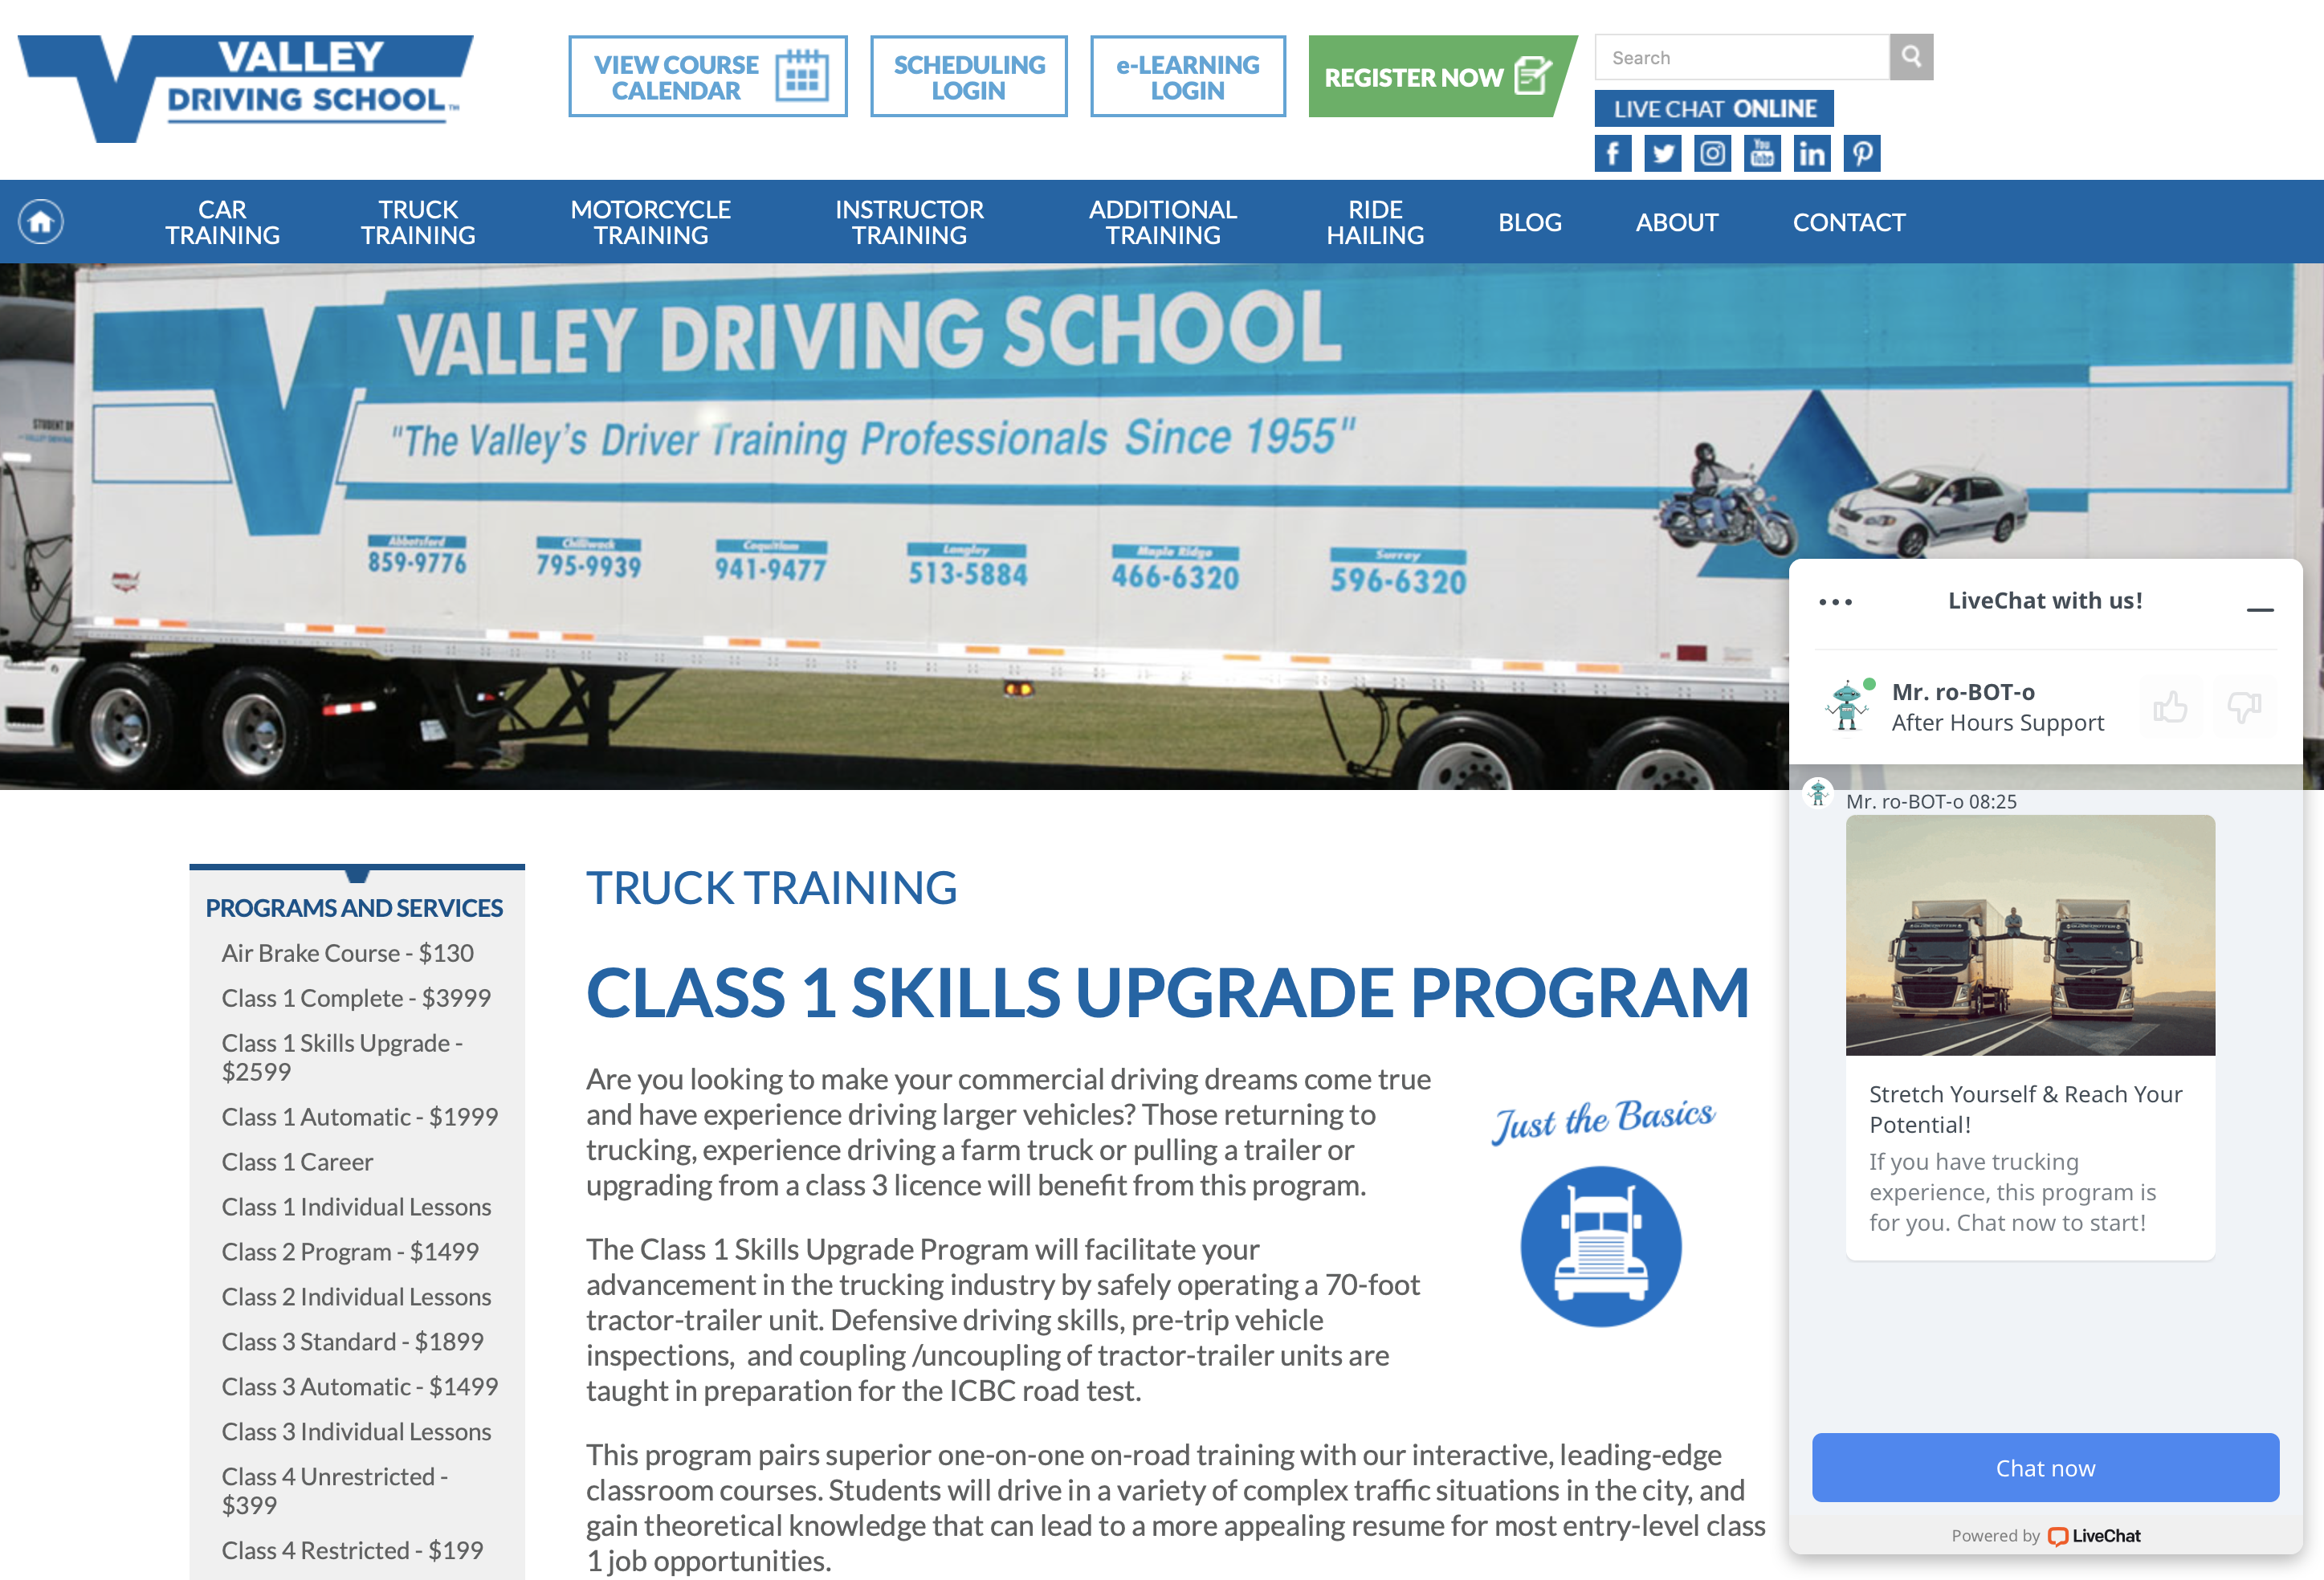
The new campaigns offer an exciting way for us to engage with our website visitors. The movement and color that campaigns provide helps encourage visitors to chat with one of our Online Support Ninjas, as it adds to the excitement new drivers feel when they think about the different types of vehicles they may be learning to drive. The campaigns are eye-catching and draw the visitor’s attention to the fact that someone is available to help with any questions they have. We find that striking the balance between inviting attention with a fun image or gif, while maintaining the overall professional image of our company, is key.
Start out by testing the waters on just a few pages where your current campaigns convert the lowest and see how chat engagement improves. We targeted the low converting pages first and noticed an immediate improvement! Once you find what your visitors like, you can expand campaigns across more pages to boost the number of opportunities your LiveChat agents get to make the sale or help your customer.
Even more tips!
- To avoid spamming your visitors with multiple pop-ups and distracting them from taking the actions you’d like them to take on your website, LiveChat will display only the first campaign for which the conditions are met. You can enable Multiple campaigns to display more campaigns, should a visitor meet conditions for more than one campaign. To enable ‘Multiple campaigns’ go to Engage → Campaigns and click the ‘Multiple campaigns’ toggle in the top right corner.
- To test newly created campaigns, open your website using the incognito/private mode in your browser (Mac: press Command + Shift + N or P, depending on the browser; Windows: press Control + Shift + N or P, depending on the browser).
- Generally, more complex conditions and triggers make for campaigns that convert better. It is worthwhile, then, to spend time analyzing which campaigns best serve customers’ needs. On the other hand, the more complex the conditions are, the more likely it is that the customer will meet other conditions first, resulting in them seeing a different campaign first. Once you set up your campaign, make sure that its conditions don’t overlap with those of another campaign in a way that would distract the visitor from your desired action.
- If you are using Groups (see this article for more information), always make sure that you are editing the campaigns for the correct group (groups can be picked from the drop-down menu in Engage → Campaigns).
- The best practice is to set up campaigns depending on time spent on a particular page rather than on the whole website.
- It’s great to engage with customers in a personal way, using the language of involvement, e.g., “Check out what we have for you.”
- Campaigns are available in all of our plans. Customers on Team and Business plans can set up unlimited campaigns, and those on the Starter plan can create one campaign.
- On mobile devices, campaigns are always displayed as a bubble.
- Decide if you want the campaign to be triggered when all conditions are met (ALL operator - ‘match all of these conditions’), or at least one of the conditions (OR operator - ‘match one of these conditions’).

